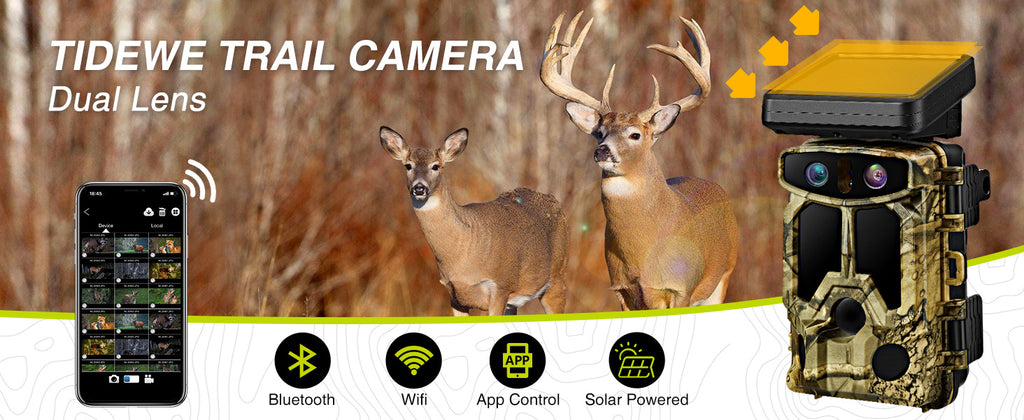
Summer scouting is an important step to helping you be successful in the woods come fall. We all want great pictures of the studs that are walking around our property and to be able to pattern them into hunting season. In this articles, I will talk about 5 helpful tips for trail camera setup that will get you quality and quantity out there in the woods.
TIP #1: ELEVATE YOUR CAMERA
Try getting that camera elevated in the tree a little more and get that thing out of sight. Not only are you getting it out of the line of sight for deer, but also the line of sight for humans if you’re hunting on public land. In my opinion elevating the camera gets you some better photos and will keep it out of the way of any growing weeds or plants that could cause false triggers. Just raise it up a little higher than normal and make sure you have good angle down to capture movement on the ground.

TIP #2: FORMAT SD CARD
TIP #3: HIGH TRAFFIC AREA
You can’t just strap one of these cameras to a random tree and expect to see deer. Although you may get lucky and gather some nice footage, take your time and find a good spot. Yes, this means you may have to look around a little bit and do some scouting. Look for deer sign such as trails, tracks, poo, rubs or even scrapes. By finding these signs you will be setting yourself up for much better success than just by finding a random tree.
TIP #4: LET IT BE
Once you’ve hung that trail camera up try to leave it there for a few weeks before going back and checking it. The more often you’re back there looking at pictures the more scent and traffic you’re putting into that property. You want to keep everything as natural as possible, so deer continue to feel safe, especially when it gets closer to hunting season. Batteries will last longer than you think, trust me. Leave those cameras alone and let them do some work.
TIP #5: FACE YOUR CAMERAS NORTH
Looking into the sun definitely sucks and makes it very hard to see doesn’t it? Well, a camera lens is the same way when it’s facing the sun. Lens flares and over exposure can ruin your photos in a hurry. The sun rises in the East and sets in the West, thus any camera’s facing those directions will at some point throughout the day be flared. This will result in random camera triggers or sun flared photos. Memory card space is valuable, use it wisely and keep those game cameras facing North as much as possible.SUMMARY

I hope this article helped you get those first couple trail cameras set this summer. Those who put the time in learning pieces of property and how deer move through them are always more likely to put one on the ground come fall.


